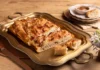


PARA MASSA
Components
- 2 cups (tea) of durum wheat semolina, weighing 320 grams
- Two-thirds of a cup of warm water (160 ml)
- seasoning for preparing dough
- semolina as needed for pulping
Setup phase
- In a big bowl, put the semolina flour and create a well in the middle. Gradually add warm water to the flour, stirring from the center outward with a fork – it’s crucial to add the water slowly to avoid using too much. Initially, the mixture will seem too dry, but that is normal.
- Once the dough takes shape, though not fully uniform, move it to the countertop and knead for 10 minutes until it becomes smooth and soft. The texture should be firmer and drier than bread dough—if it is too wet from the soaking stage, shaping the noodles after resting will be more difficult. Initially, the dough feels quite tough and may seem unworkable, but as it is kneaded, it will become smooth and soft.
- Wrap the dough in plastic wrap (or place it in a plastic bag) and allow it to rest for 30 minutes – this resting period is crucial as it makes the dough less elastic and softer, which simplifies shaping. If you choose to cover it with a cloth, dampen the cloth slightly to prevent the dough from drying out. In the meantime, take the opportunity to prepare the sauce and roasted tomatoes.
- Using a baker’s spatula (or knife), cut a section of the dough and shape it into a roll approximately 1.5 cm thick. Then, slice the roll into pieces about 1 cm in size with the spatula. Keep the remaining dough covered to prevent it from drying out. Note: there is no need to sprinkle semolina on the countertop when shaping the dough.
- To shape the orecchiettes: place the tip of a non-serrated knife at the edge of the dough piece and make a single motion, dragging the dough while gently pressing it against the work surface – the dough will curl, creating a small dome. Flip the dome using your fingertip as a mold to achieve the characteristic orecchiette shape. Move the shaped orecchiettes onto a baking tray dusted with semolina to keep them from sticking, and repeat the process with the remaining dough.
- To prepare the dough, bring around 5 liters of water to a boil in a large pot over high heat. Once boiling, stir in 2 tablespoons of salt and add the orecchiettes. Cook for approximately 5 minutes, occasionally stirring, until they reach an al dente texture.
- After cooking, drain the water and serve the orecchiettes topped with the tomato sauce and roasted tomatoes.
PARA O MOLHO
Components
- 2 cans of peeled tomatoes, including the juice
- Two sprigs of basil (approximately 10 leaves)
- Three tablespoons of olive oil
- 2 tablespoons of butter
- Half an onion, peeled
- One teaspoon of salt
- Add ground pepper gradually to suit your taste.
Setup phase
- Open the cans and pour the tomatoes along with their liquid into the blender. Blend until smooth – blending the tomatoes after cooking will turn the sauce orange.
- In a regular pan, heat the olive oil over medium heat. Once hot, add a bunch of basil and cook for only 2 minutes. Take the pan off the heat, then add the whole onion, the crushed tomatoes, and season with salt and pepper to your liking.
- Place the pan back on medium heat and cook for 6 minutes starting from when it begins to boil. Turn off the heat, add the remaining fresh basil and butter, and stir gently until melted – this makes the sauce extra smooth. Set aside.
TOMATES ASADOS
Components
- 4 big Italian tomatoes
- 6 tablespoons of finely grated, dense parmesan cheese
- oil according to preference
Mode of preparation
- Set the oven to 220 °C (high heat) and allow it to preheat.
- Thoroughly wash and dry the tomatoes. Lightly coat a large baking tray, ideally non-stick, with a thin layer of olive oil.
- Simply trim a small piece from the bottom of the tomato to help the slice stand upright on the baking sheet. Slice each tomato into three thick, even pieces to ensure they hold together during roasting.
- Place the rings on the baking tray and top each one with half a tablespoon of grated cheese. Bake in the oven for approximately 20 minutes, or until the cheese is melted and slightly browned.
- Take it out of the oven and allow it to rest for 2 minutes before serving with the noodles – the tomato becomes very soft in the oven, and this time is crucial to remove the slices from the baking sheet without breaking them apart.
Please provide the text you would like me to paraphrase.
This dish can be made in stages. The sauce can be made up to three days in advance and stored in the fridge. Orecchiettes can be made and frozen for up to three months. When ready to serve, roast the tomatoes, warm the sauce, and cook the pasta.
Punto de congelación
The dough made with semolina and water freezes very well. Place the shaped orecchiettes on a baking sheet, side by side, and put them in the freezer. After about 2 hours, once they are frozen, transfer the pasta to an airtight container or bag and store in the freezer for up to 3 months. This way, the orecchiettes remain separate, allowing you to use only the amount you need. To cook, drop the frozen orecchiettes directly into boiling water and cook for 3 minutes, as they cook faster after being frozen.
Purchase only what is necessary
Store
Tramontina Freezinox Stainless Steel Cookware Set with Plastic Lids

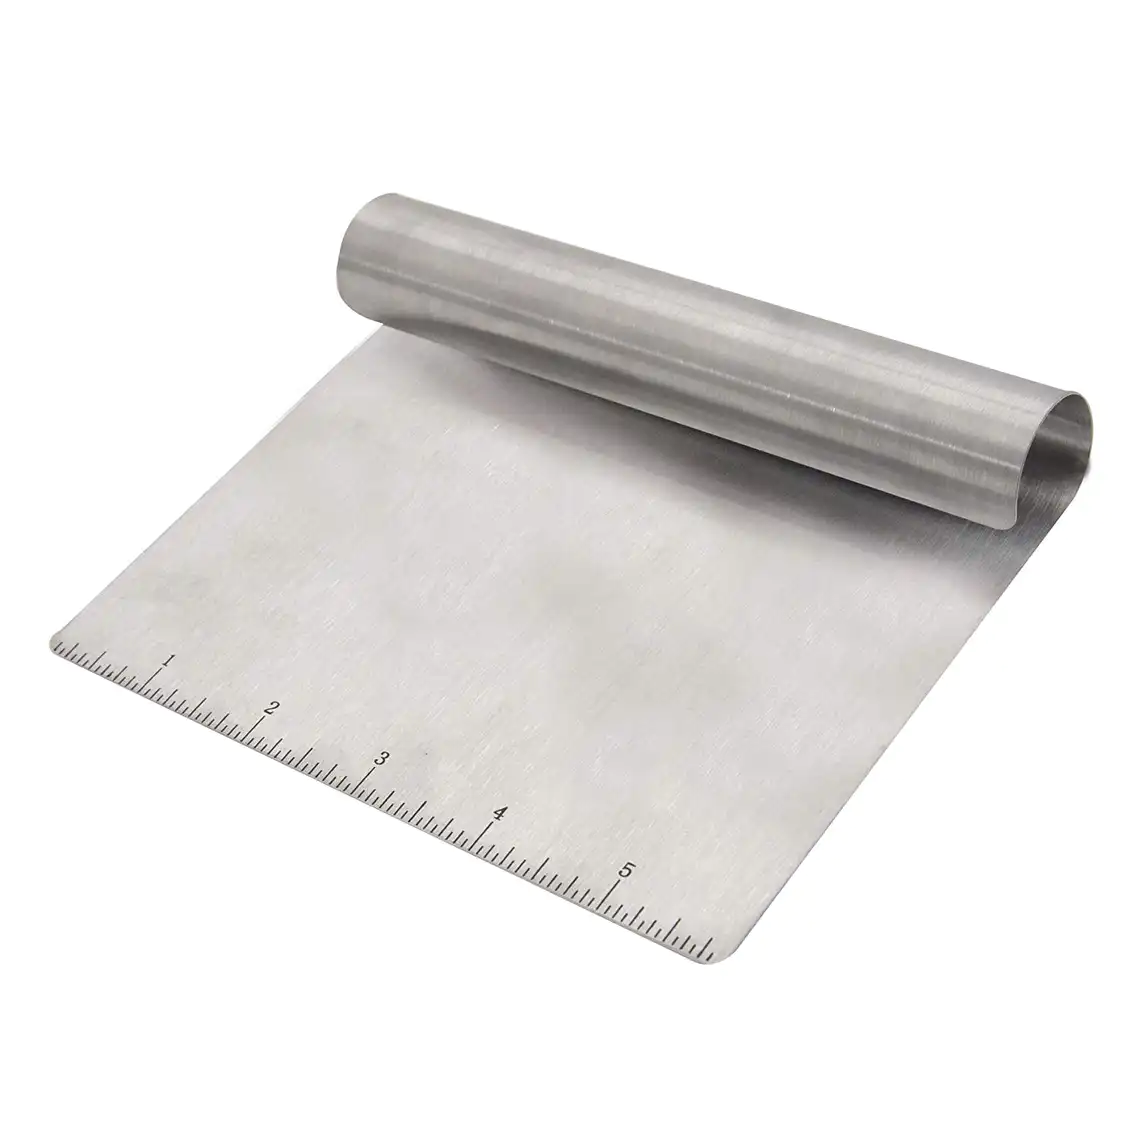
Mimo Style stainless steel spatula
Set includes three stainless steel pans from Zwilling J.A. Henckels.

Electrolux, 700 W, Experience

Tramontina Aluminum Rare Roast

Game featuring 6 plates with a Ramalhete [fresh green] background, from the Ervas Collection, Paninha Archive.